

Installing Ubuntu Server 22.04
Kubernetes on your Laptop (3 part series)
This is the second post in my “Kubernetes on your Laptop” series. In this post, I’ll show you how to install Ubuntu Server on a virtual machine using VMware Fusion. If you need help installing VMware Fusion, check out my previous post.
Download Ubuntu Server Image
First thing we need to do is download the Ubuntu Server image based on your machine’s architecture:
- For amd64, go here and download the server install image
- For arm64, go here and download the server install image
Install Ubuntu Server on VMware Fusion
As mentioned in my previous post, I am using a M1 Macbook Pro, so I will be using VMware Fusion to create and run virtual machines on my laptop. If you are using VMware Workstation, the steps should be similar.
Create a New Virtual Machine
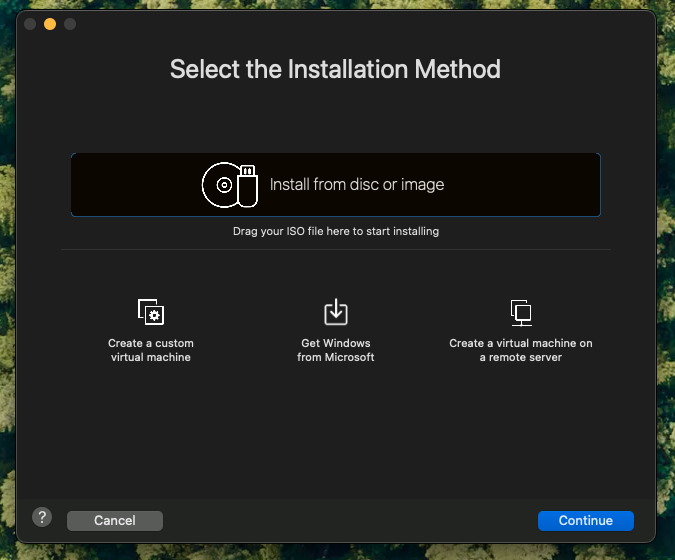
Open VMware Fusion and double-click the Install from disc or image box in the center of the window.
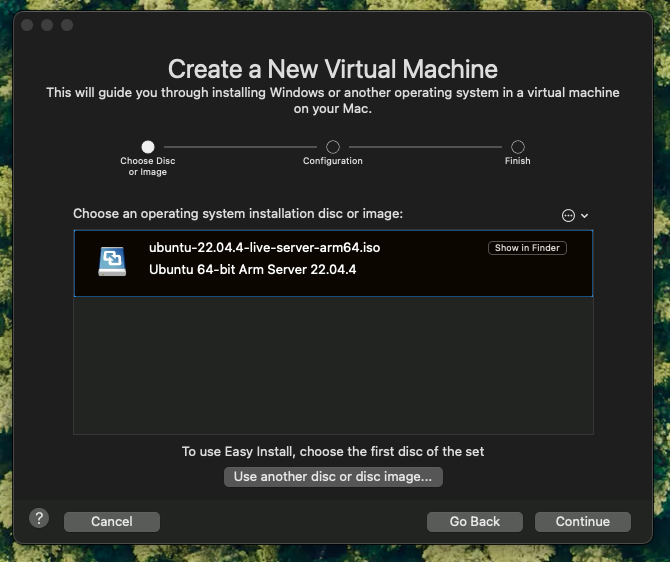
In the Create a New Virtual Machine window, drag and drop the Ubuntu Server image you downloaded into the Drag a disc image here section. Click Continue.
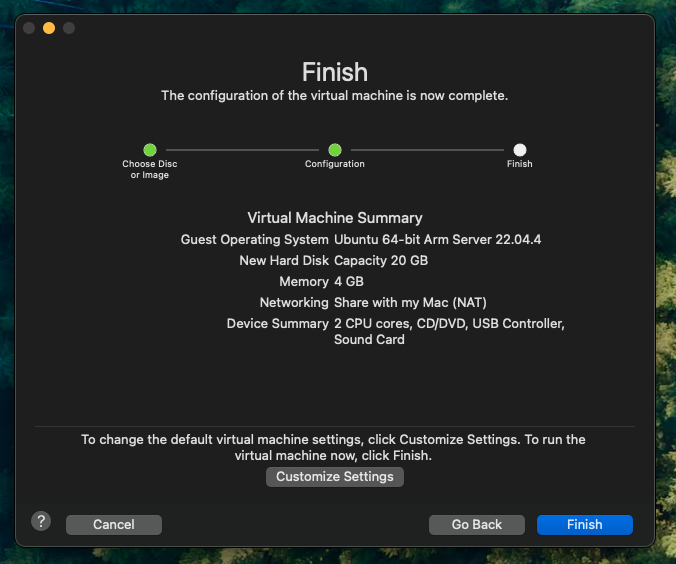
In the Finish window, click the Customize Settings button to further configure the virtual machine settings, but for the purpose of our local Kubernetes cluster installation, the default settings should be sufficient. Click Finish and then give your VM a name and click Save. I named mine k8s-control.vmwarevm to distinguish it as the control plane node.
Ubuntu Server Installation
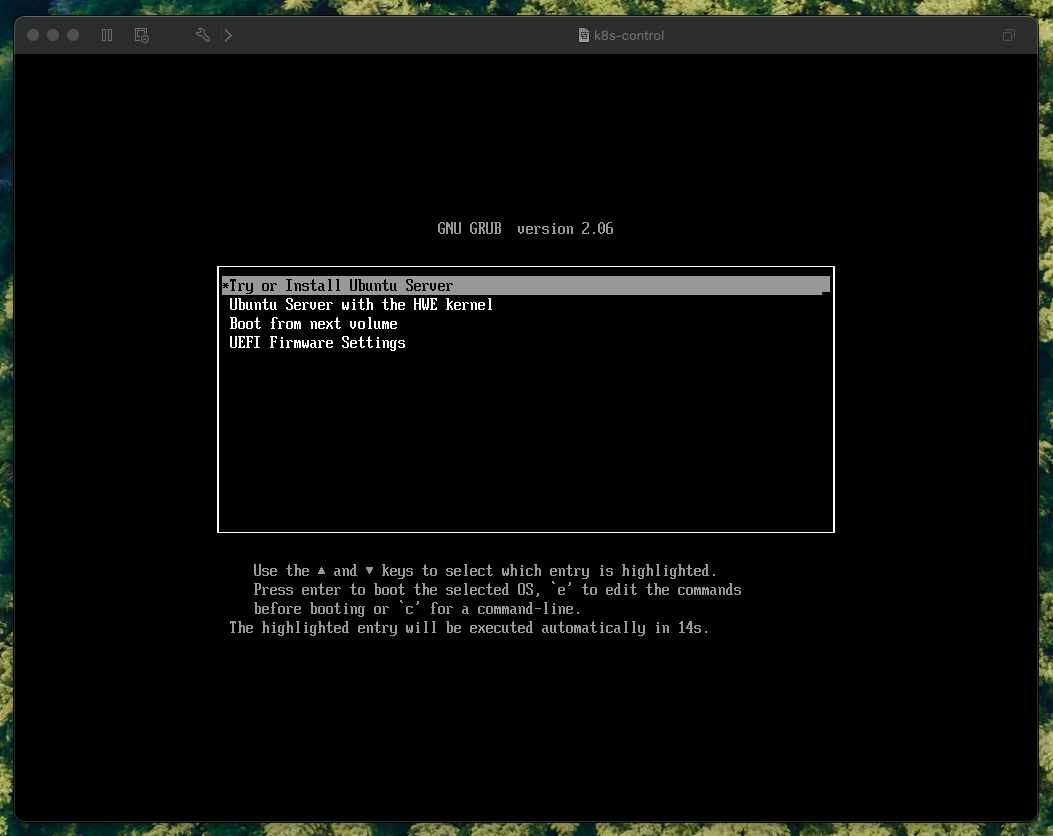
The virtual machine will start and you will be presented with the Ubuntu Server installer. Follow the on-screen instructions to install Ubuntu Server on the virtual machine.
Let’s go through the installation process step by step:
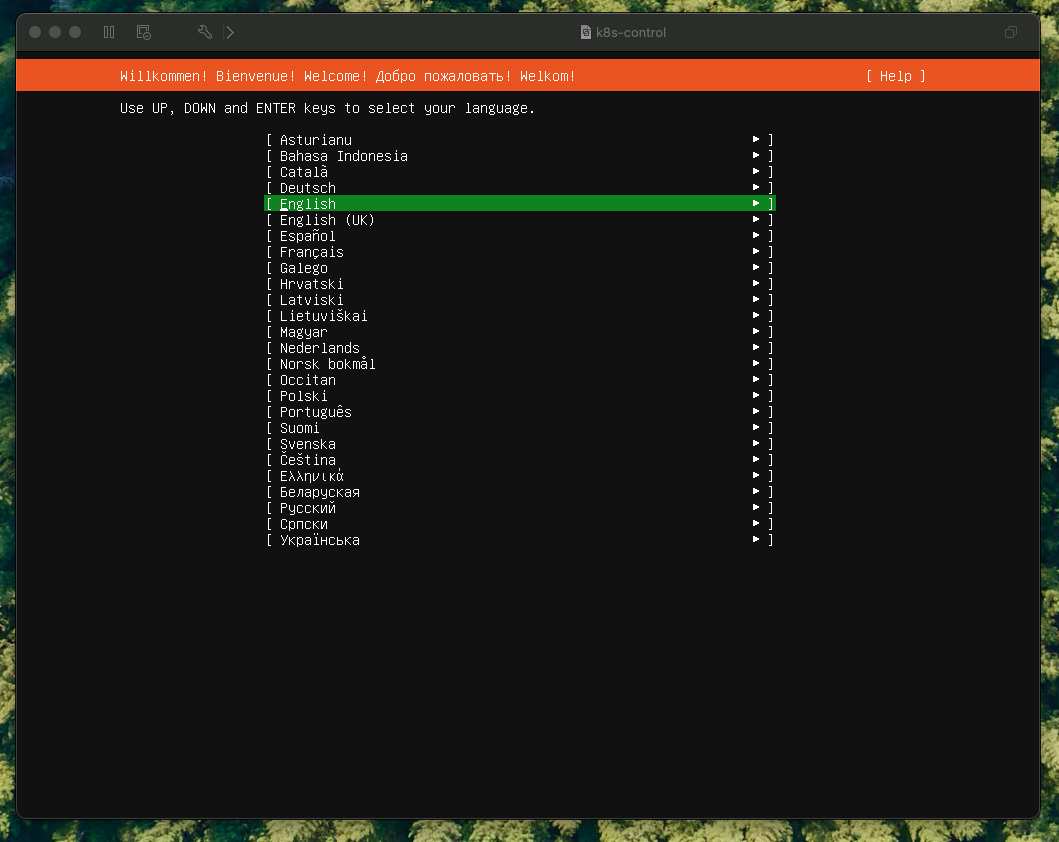
Language
Select the language you want to use during the installation process and press the return key to proceed to the next step.
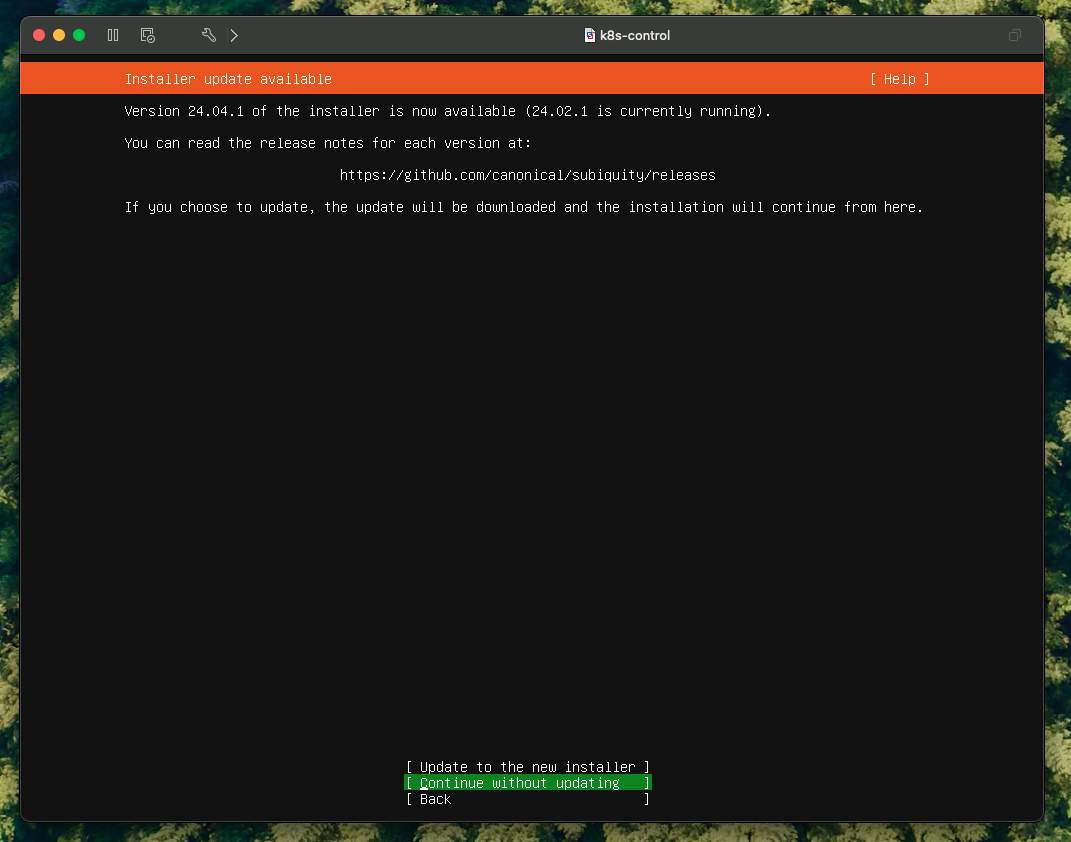
Installer update
You will be presented with a notice that an installer update is available. We want to stick with the current installer so select Continue without updating and press the return key to proceed to the next step.
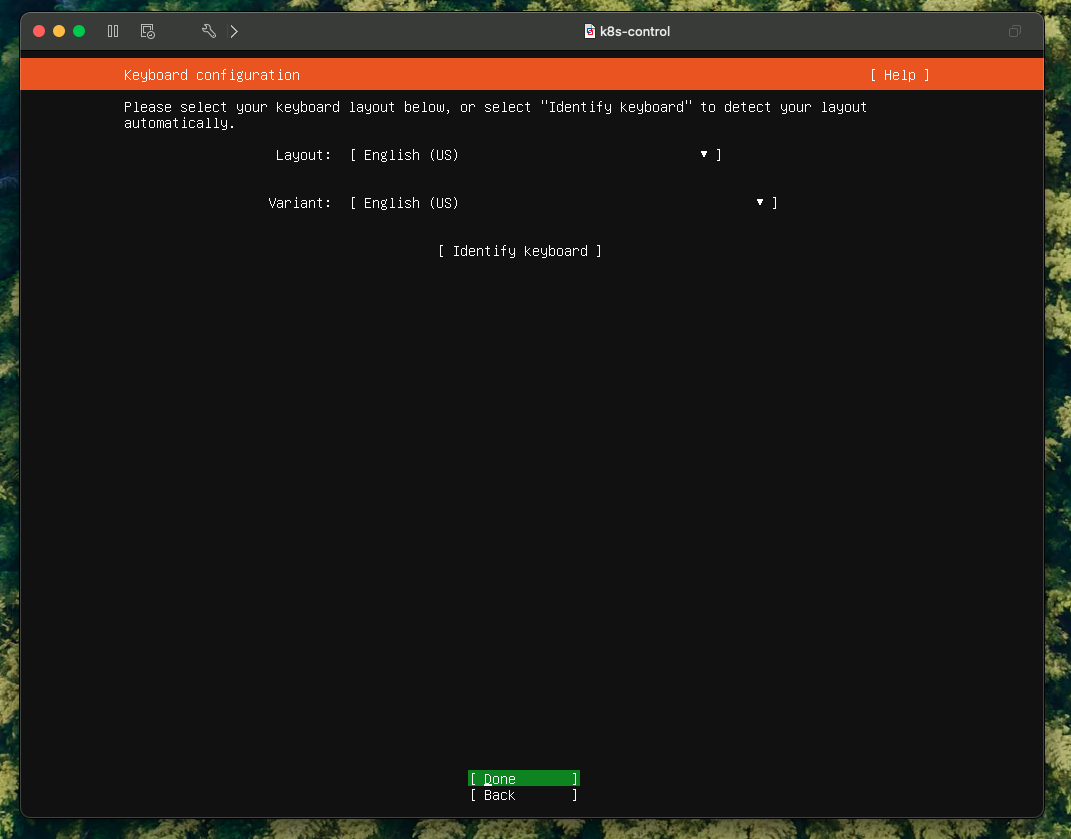
Keyboard layout
Review your keyboard Layout and Variant, and press the return key to proceed to the next step.
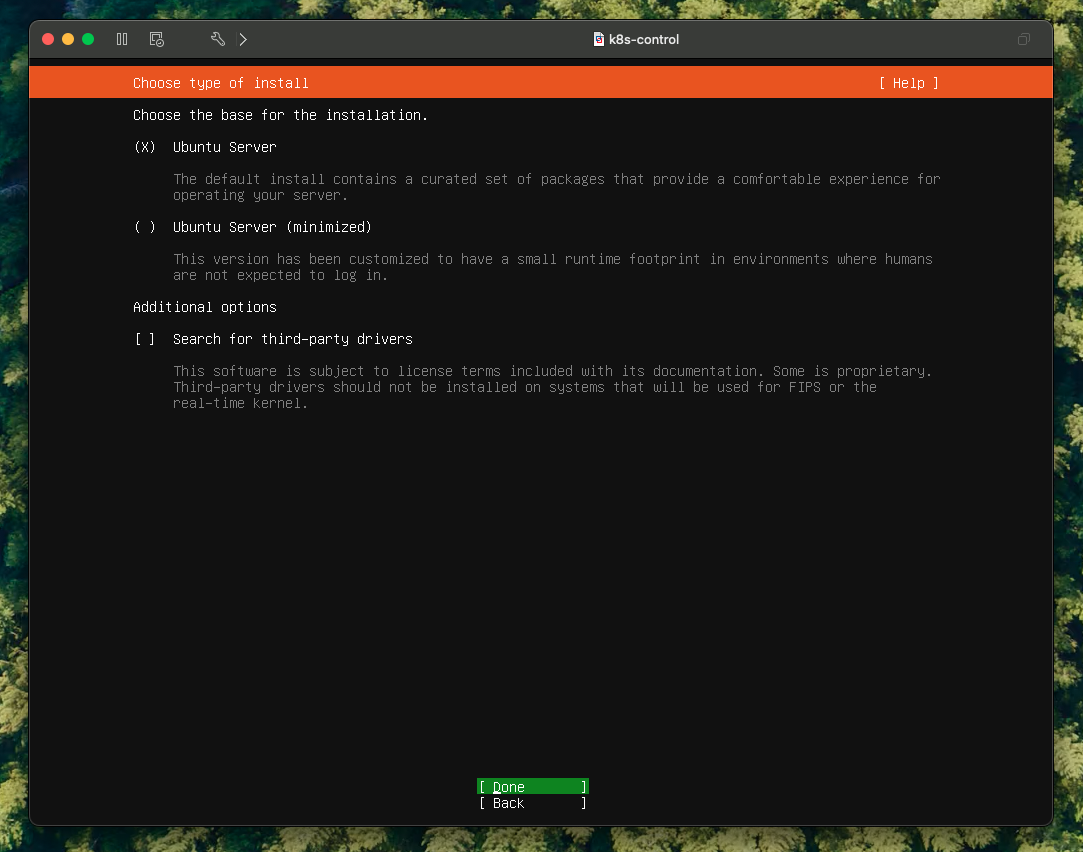
Choose type of install
Keep the options as they are and press the return key to proceed to the next step.
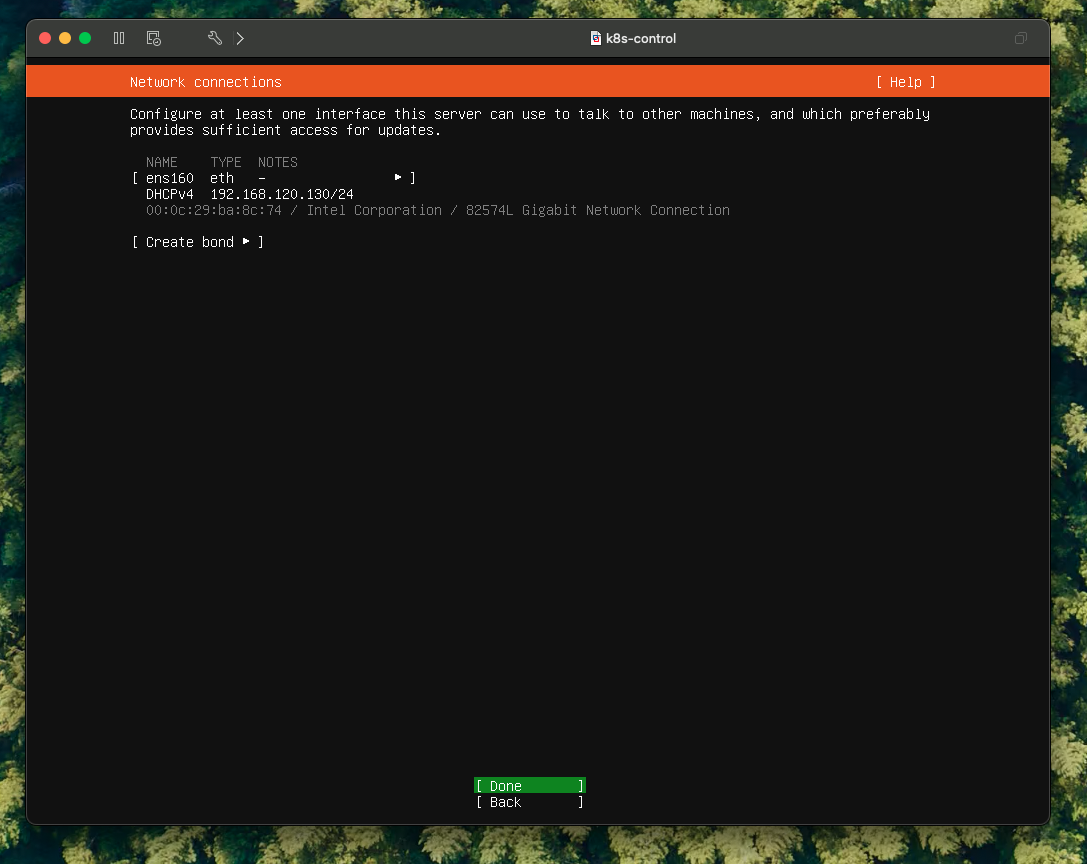
Network connections
Wait for the network to configure itself and display an IP range for DHCPv4 and press the return key to proceed to the next step.
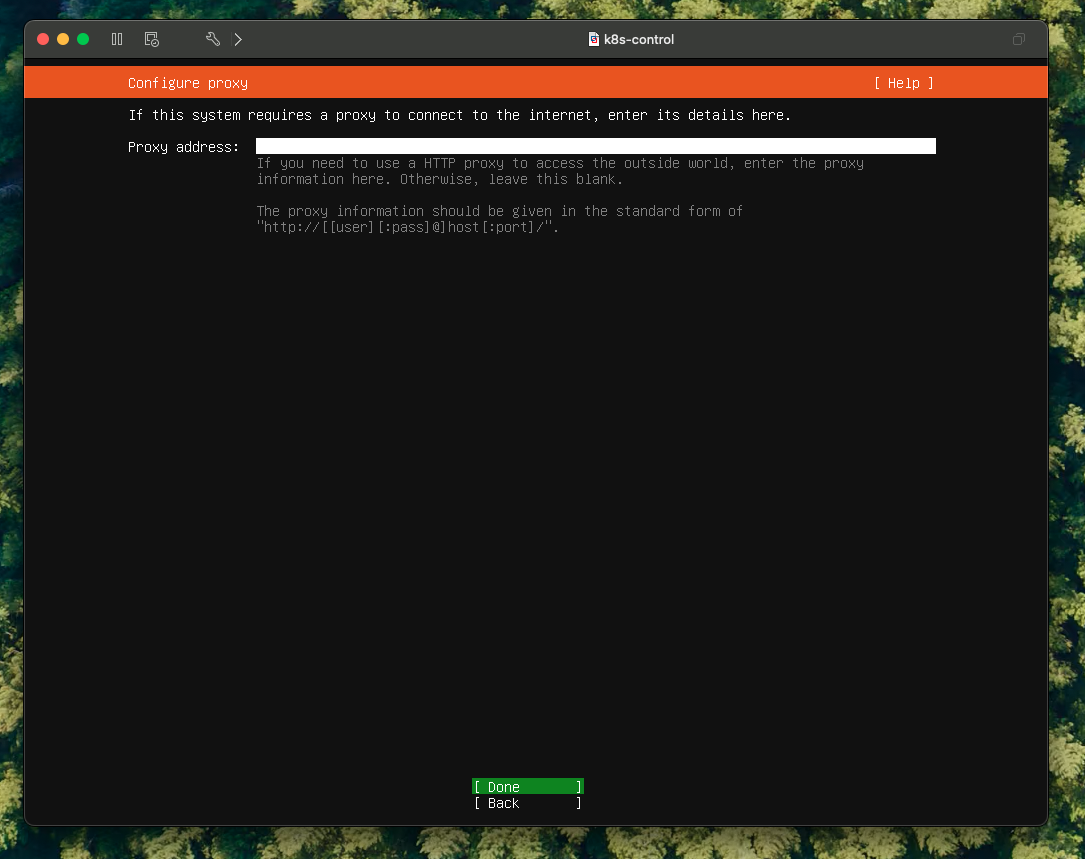
Configure proxy
Keep the proxy settings blank and press the return key to proceed to the next step.
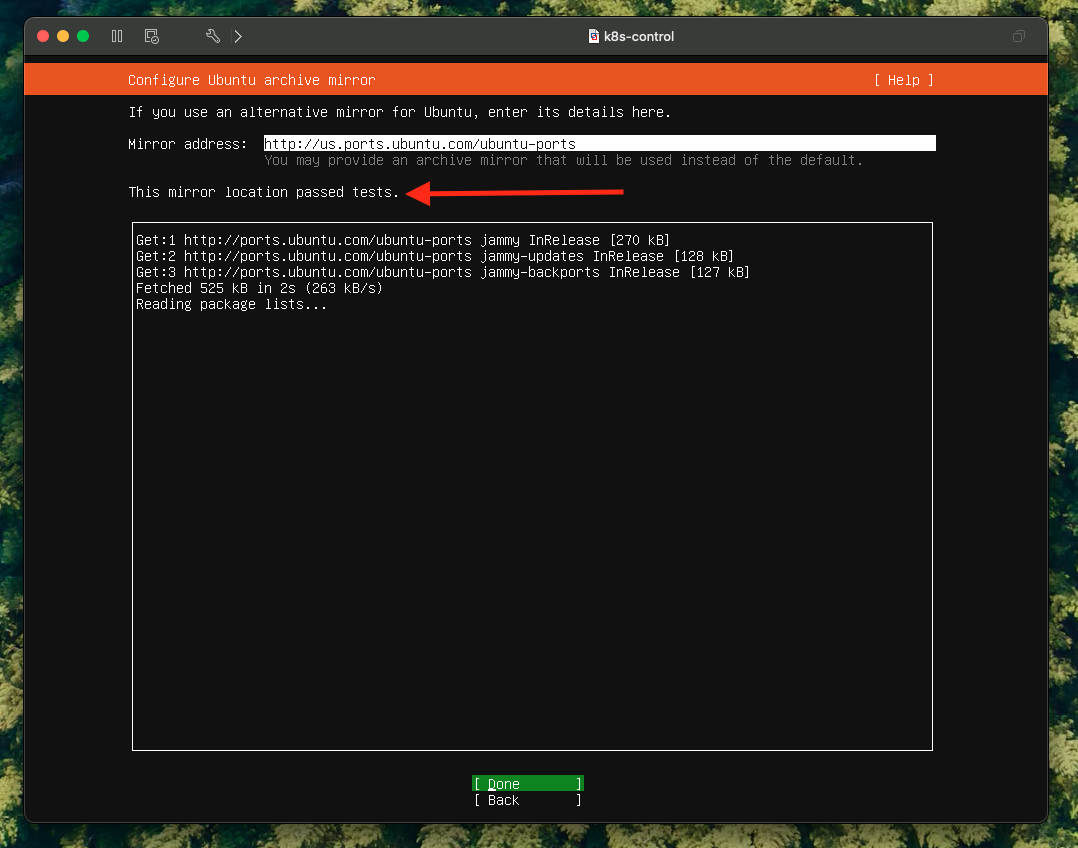
Configure Ubuntu archive mirror
Wait for the installer to find the best mirror. Once you see “This mirror location passed tests.” press Enter.
Guided storage configuration
Keep the default settings then tab through to Done and press the return key to proceed to the next step.

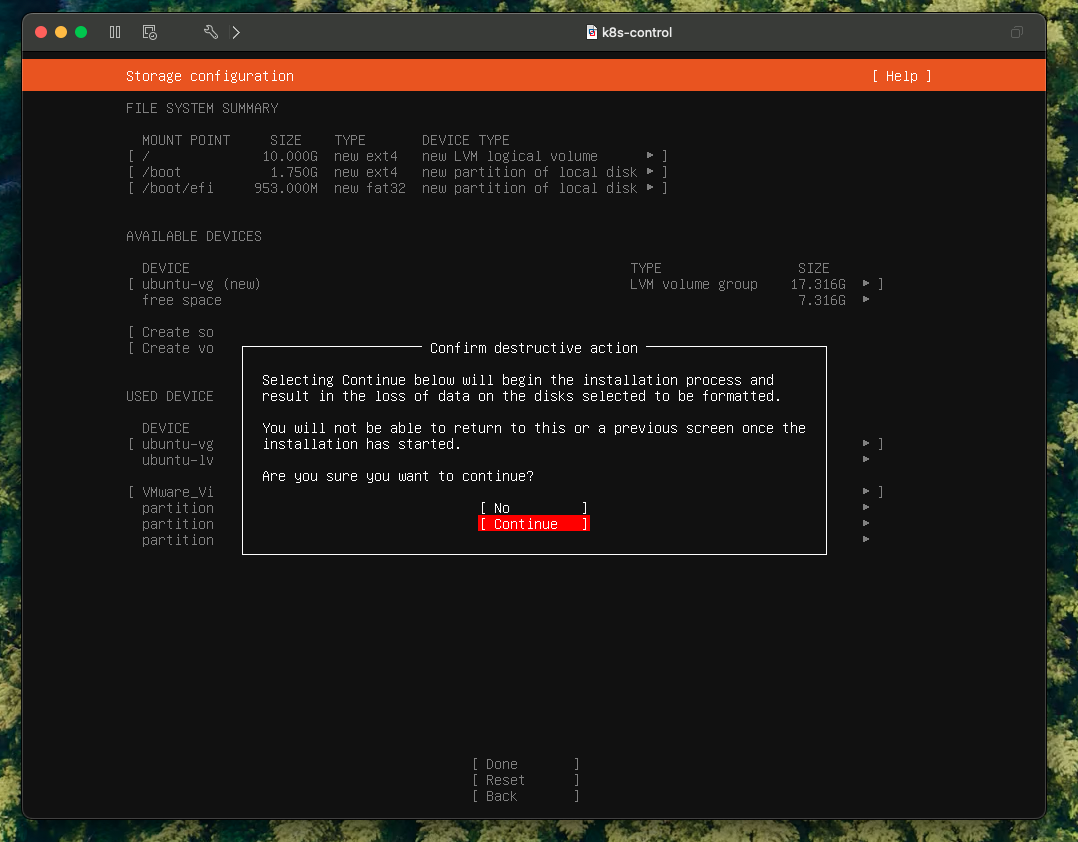
Storage configuration
Review the storage configuration and press the return key to proceed to the next step.
You will be warned about a “destructive action”, tab through to Continue and press the return key to proceed to the next step.
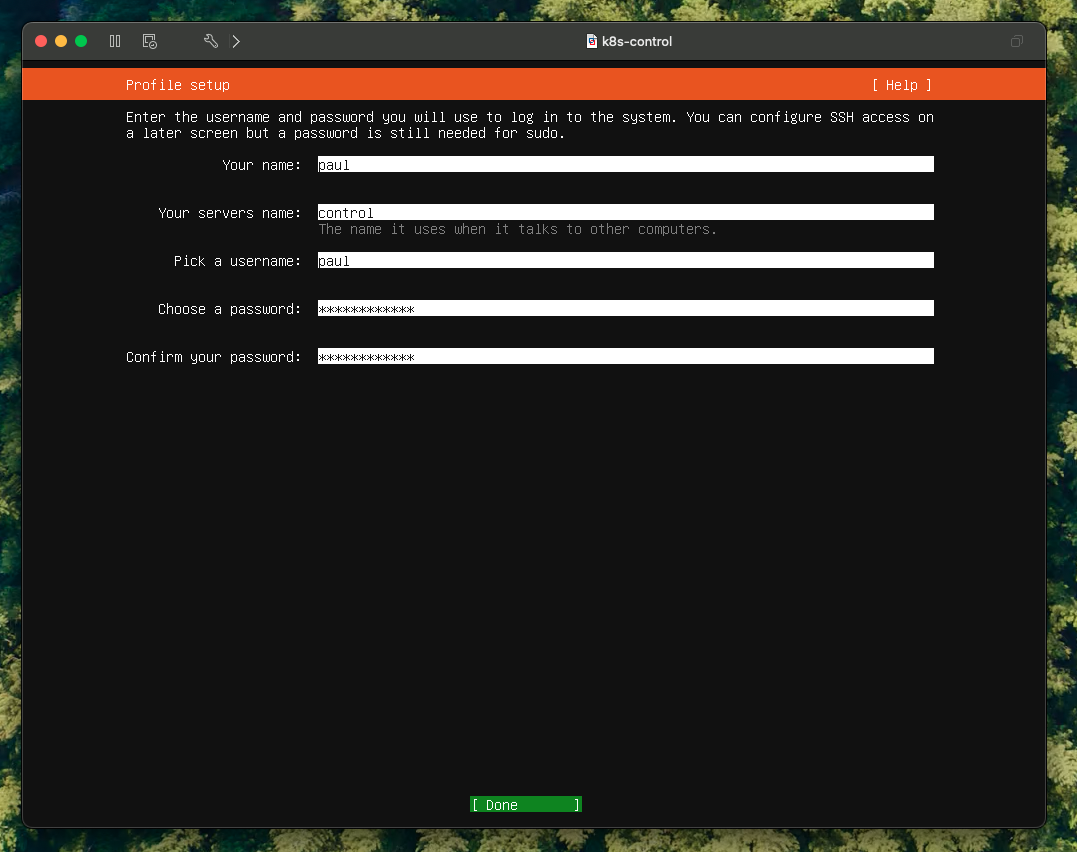
Profile setup
Enter your name, server name, username, and password then tab through to Done and press the return key to proceed to the next step.
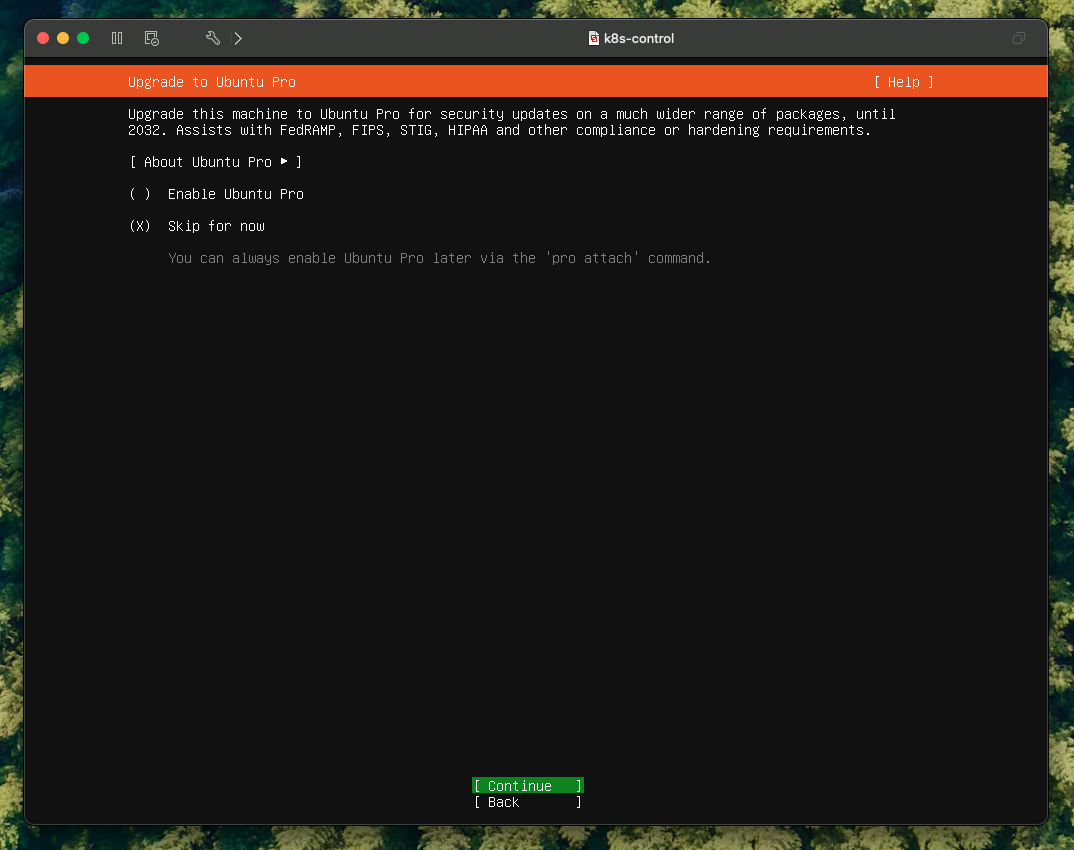
Ubuntu to Ubuntu Pro
Keep the default settings and press the return key to proceed to the next step.
SSH Setup
Press the space bar to select the Install OpenSSH server option then tab through to Done and press the return key to proceed to the next step.
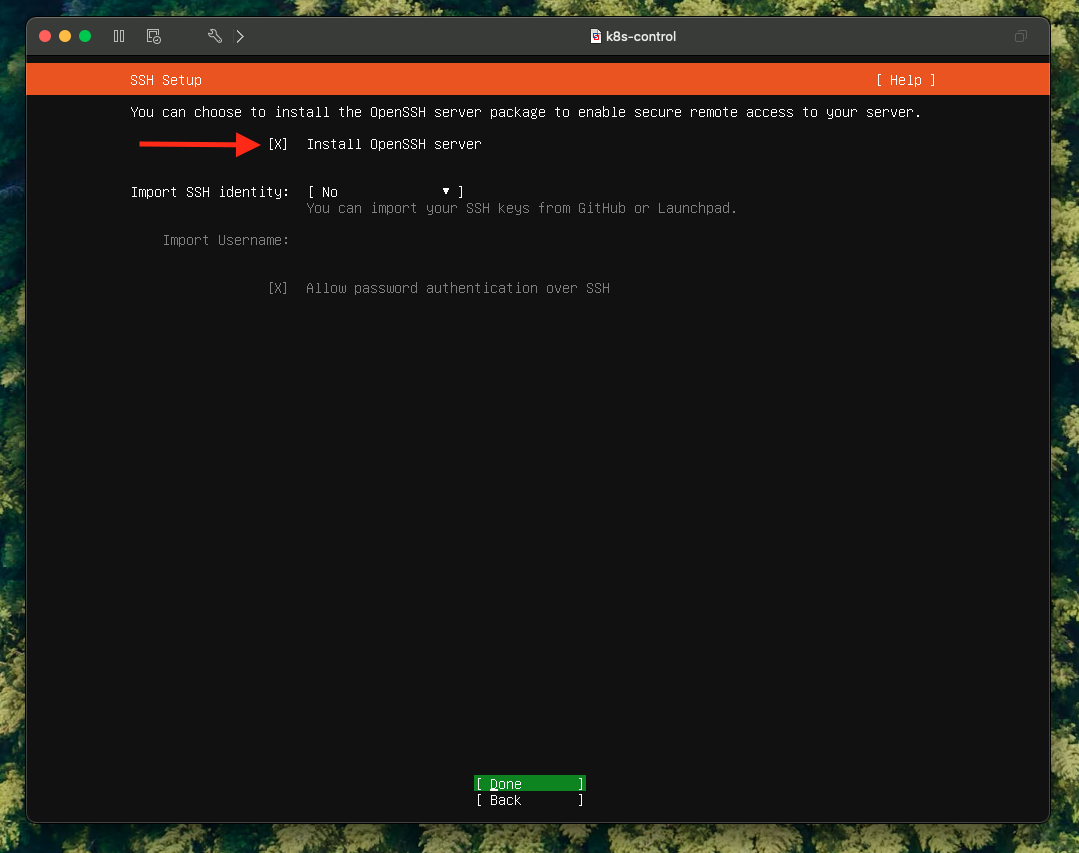
⚠️ This part is critical. We need this to be able to SSH into the virtual machine from the host machine (your laptop).
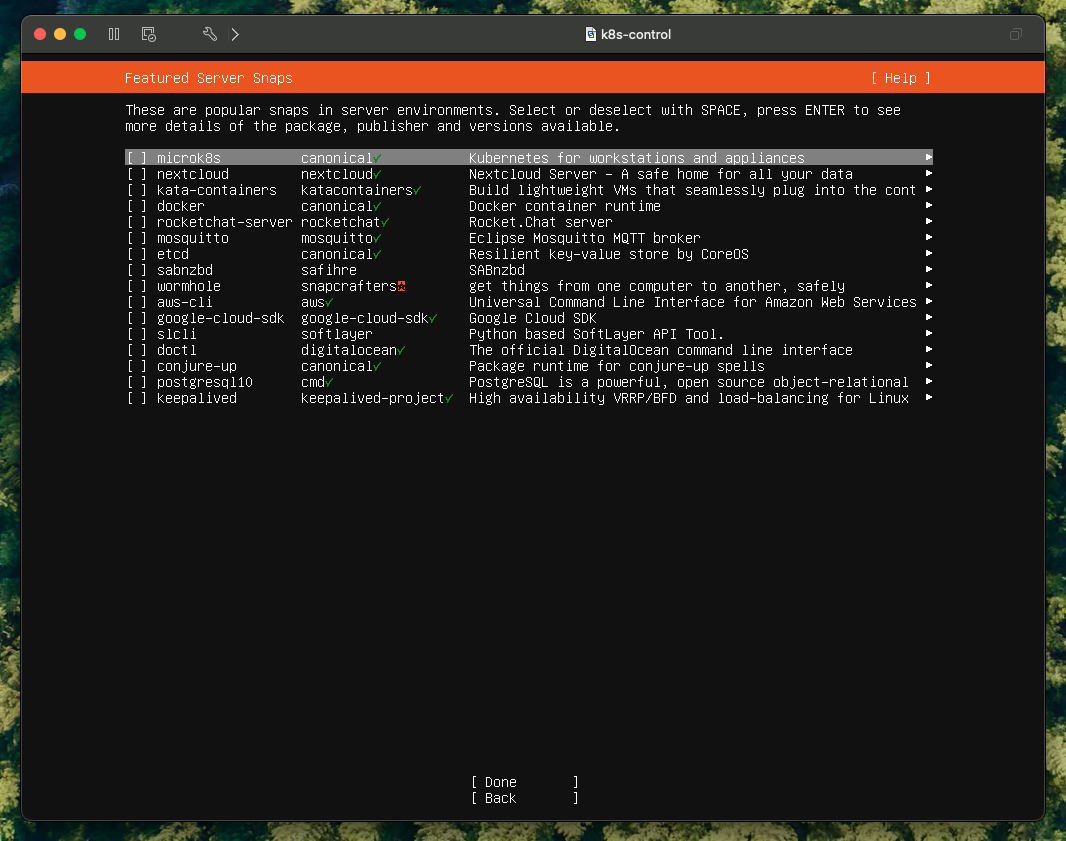
Featured Server Snaps
Keep the default options and tab through to Done and press the return key to proceed to the next step.
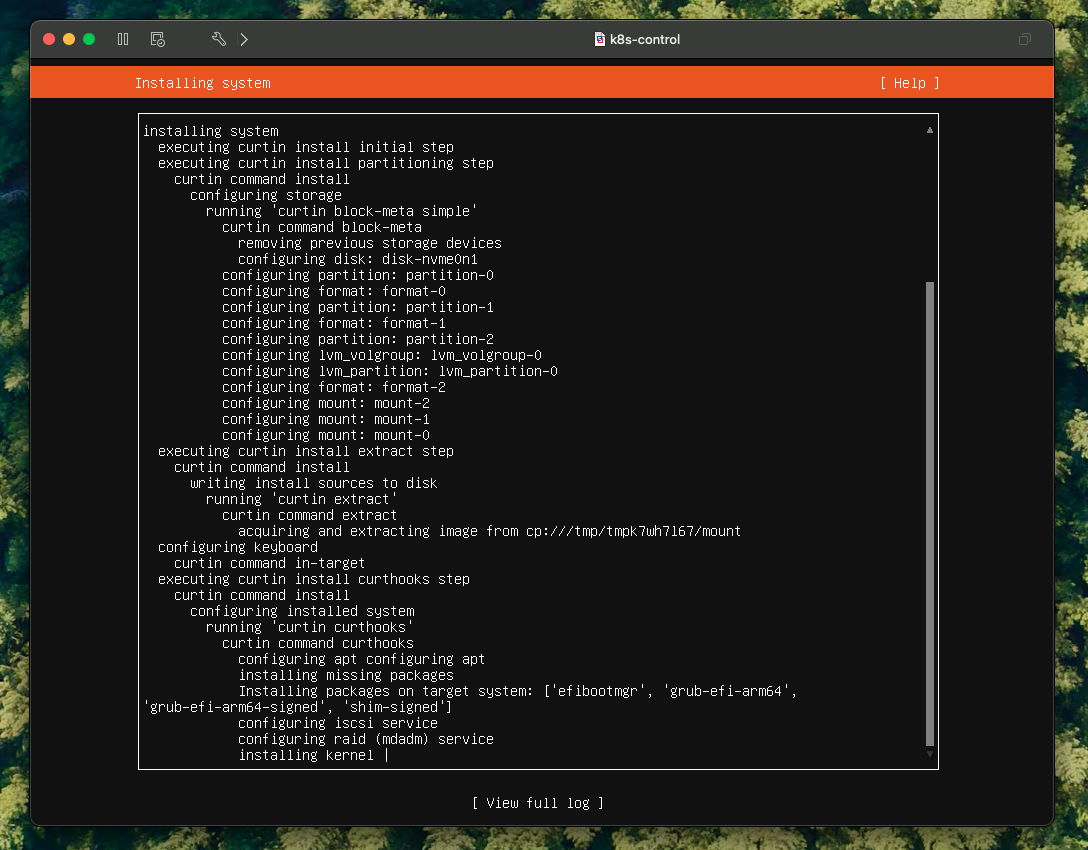
Installing system
You should see the installation logs as the system is installed. This will take several minutes to complete.
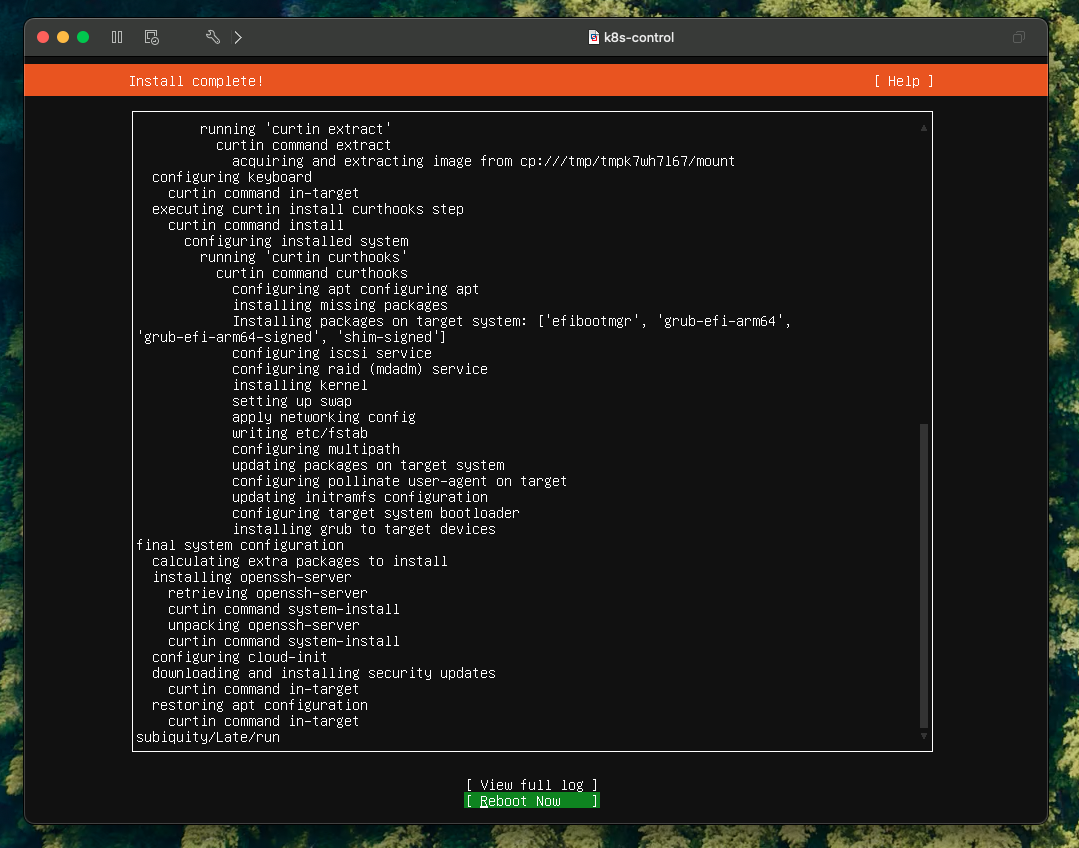
Install complete
Once the installation is complete, tab through to Reboot Now and press the return key to reboot.
You will be prompted to hit the Enter key to complete the reboot process.
Post-installation
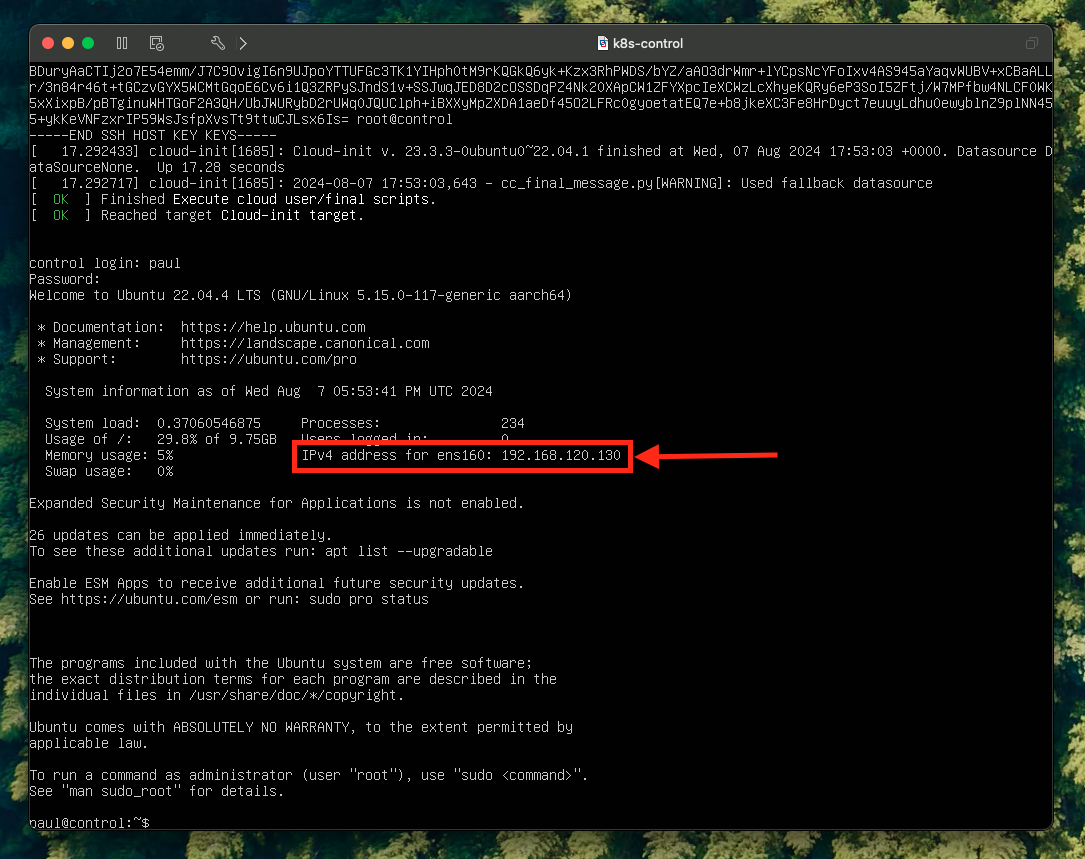
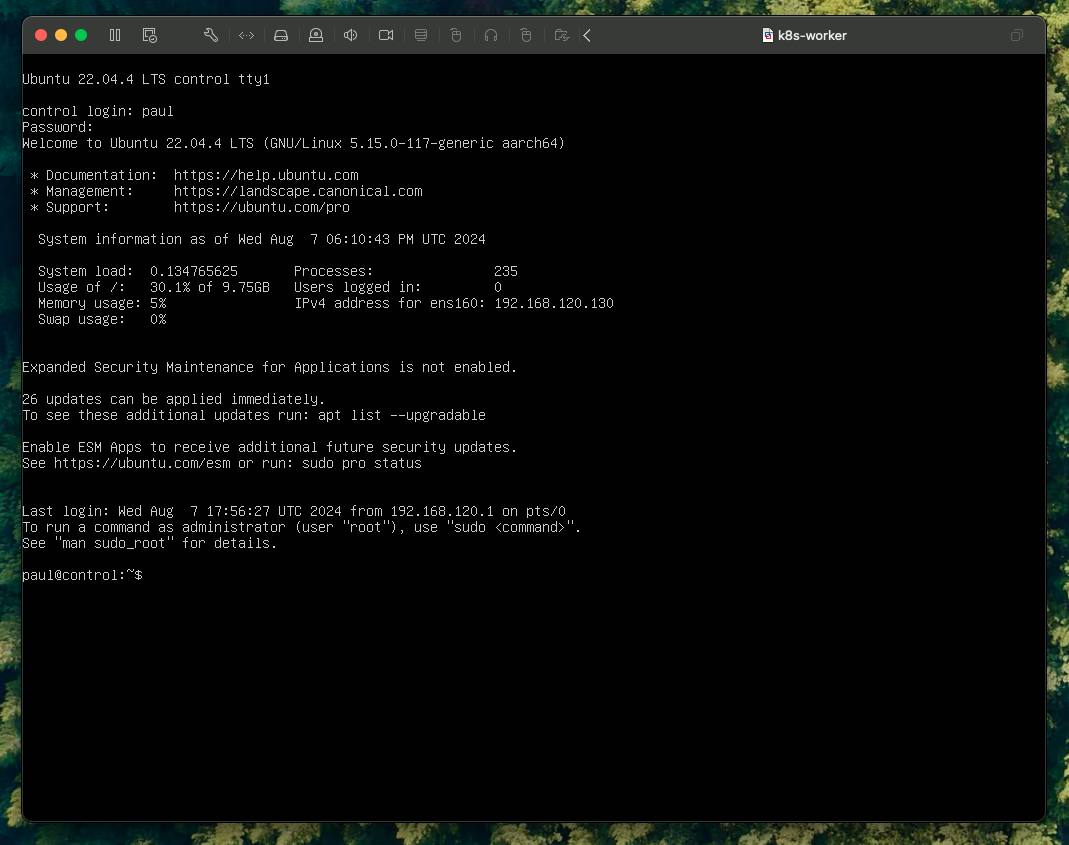
Once the system is rebooted, log into the virtual machine using the username and password you set up during the installation process.
You will see the IPv4 address that has been assigned to your virtual machine. Make a note of this as we will need it to SSH into the virtual machine from the host machine.
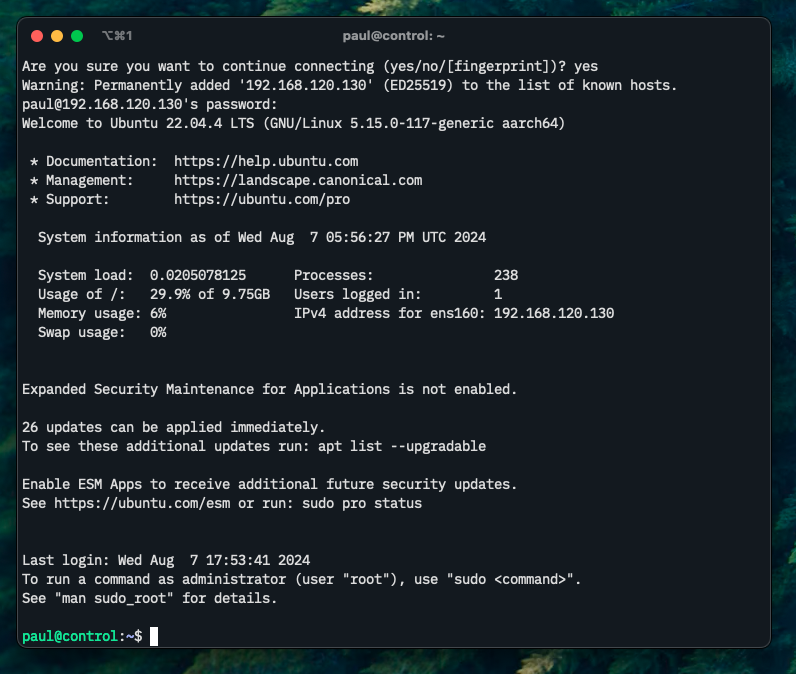
Using the IP address, SSH into the virtual machine from the host machine.
ssh paul@192.168.120.130
When prompted, type yes to add the virtual machine to the list of known hosts, enter your password, and you should be logged into the virtual machine.

Congratulations! You now have an Ubuntu Server virtual machine running on VMware Fusion.
Clone a worker node
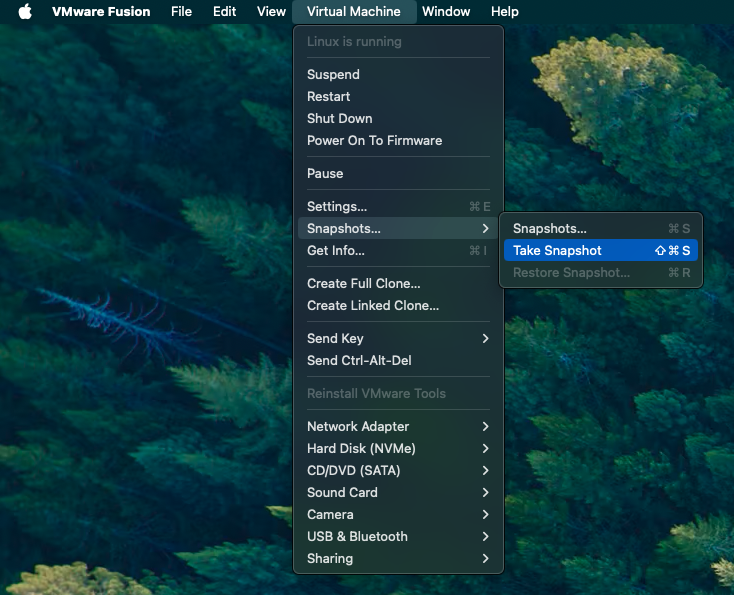
Take a snapshot of the control node virtual machine so that you don’t have to go through the installation process again. To take a snapshot, go to Virtual Machine > Snapshots > Take Snapshot. You should give your snapshot a name like “Before kubeadm init” so that you can easily identify it in the future.
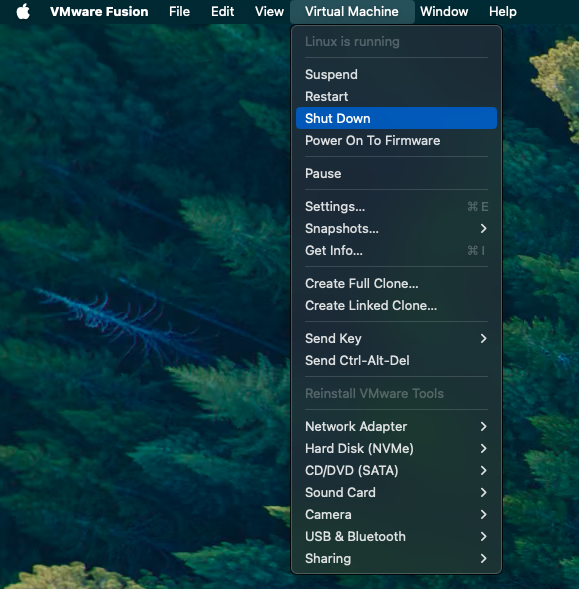
Shut down the virtual machine by clicking Virtual Machine > Shut Down.
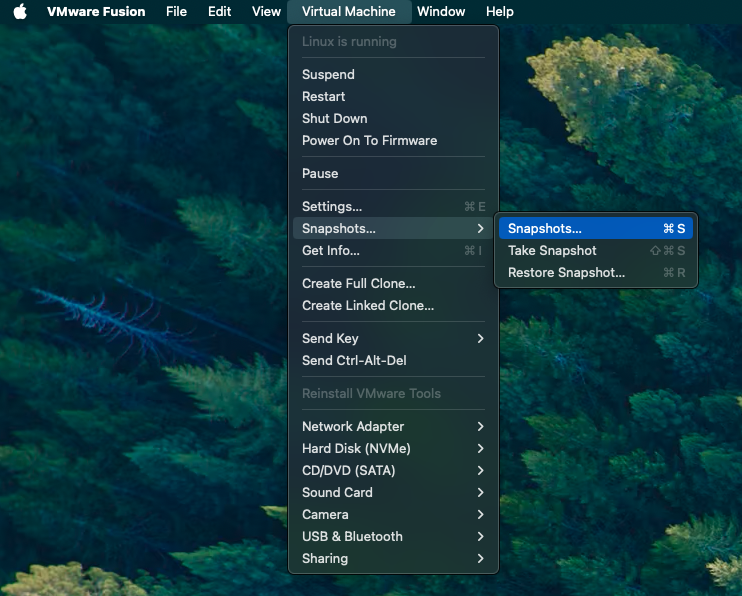
View your snapshots by going to Virtual Machine > Snapshots > Snapshots.
Right click on the current state snapshot and click Create Full Clone.
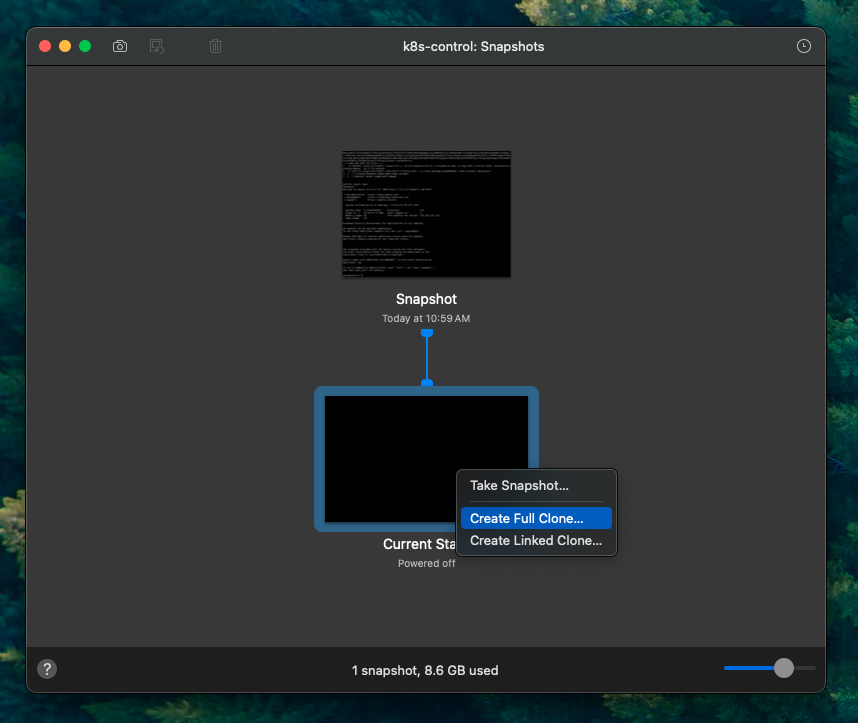
Give your clone a new name. I named mine k8s-worker.
After the clone is complete, power on the k8s-control then the k8s-worker virtual machines and log in.
The network uses DHCP, so make sure you power on k8s-control first so that it can be re-assigned the same IP. The other option is to set static IPs on your machines.
You will notice the hostname is the same as the control node. We will need to change this with the following command.
sudo hostnamectl hostname worker
Verify the hostname has been changed by running the following command.
hostname
You can power down this virtual machine and take a snapshot so that you have a clean worker node to clone from in the future. Remember to give your snapshot a name like “Before kubeadm join” so that you can easily identify it in the future.
Conclusion
You now have two Ubuntu Server virtual machines running on VMware Fusion. In the next post, I will show you how to install the Kubernetes control plane on the control node and join worker nodes to the control plane.