
Installing VMware Workstation Pro 25H2 on Ubuntu Desktop
Last year, I wrote a guide on how to install VMware Workstation Pro on Ubuntu Desktop. Since then, I’ve learned there’s an easier way to manually install and sign the vmmon and vmnet modules when attempting to run VMware Workstation Pro on a UEFI-based system with secure boot enabled. No more custom building of the modules required! The modules can be installed using VMware’s installer, and you just need to manually sign them. Let’s go through this process step by step.
First off, Broadcom has decided to rename all its product release versions from the traditional major.minor.patch format to a year-based format. So instead of version 17.6.2, the latest release is now version 25H2. I’m more of a semantic release version kind of dude, but I can see how it’s easier to get a sense of how old a release is when looking at the year-based format.
Download the installer
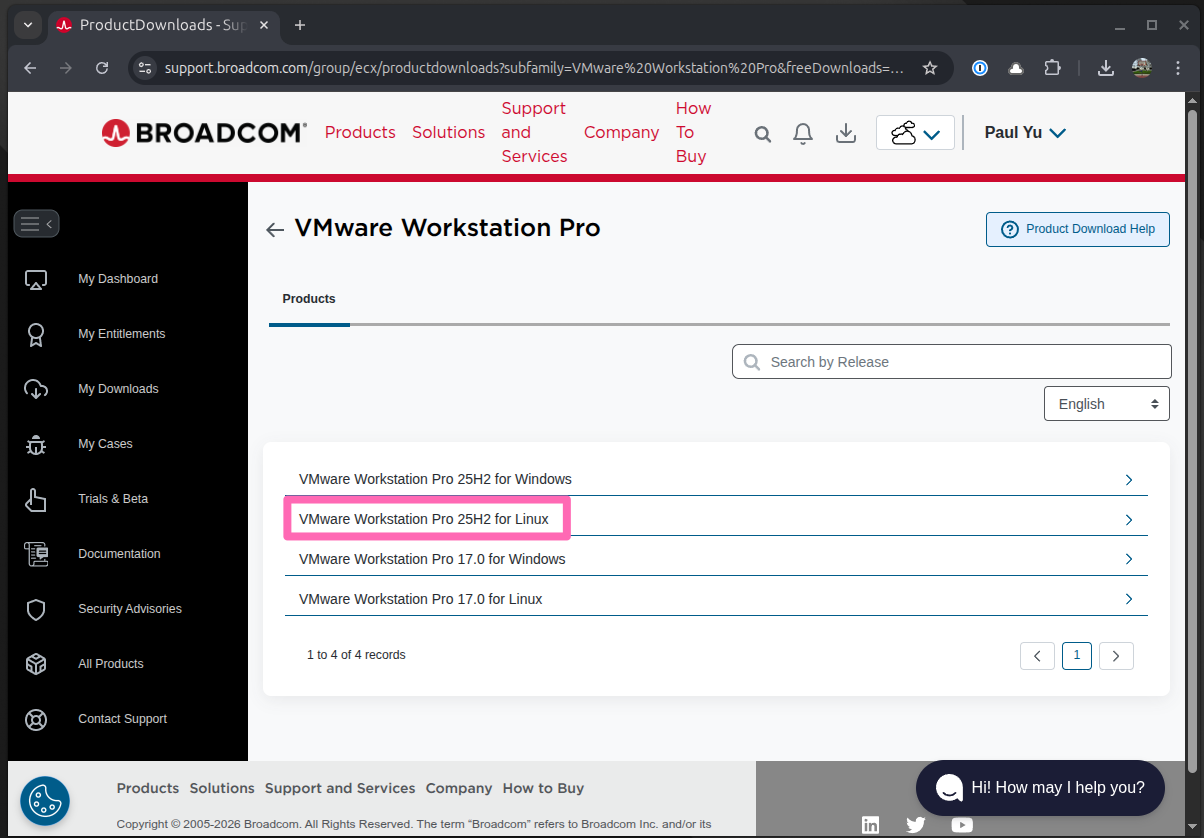
Anyway, the steps to install VMware Workstation Pro 25H2 on Ubuntu Desktop are pretty much the same as before. Head over to the Broadcom support site, sign in, and find VMware Workstation Pro. Expand VMware Workstation Pro 25H2 for Linux and click on the latest release.
Accept the terms and conditions and click on the download link to get the installer.
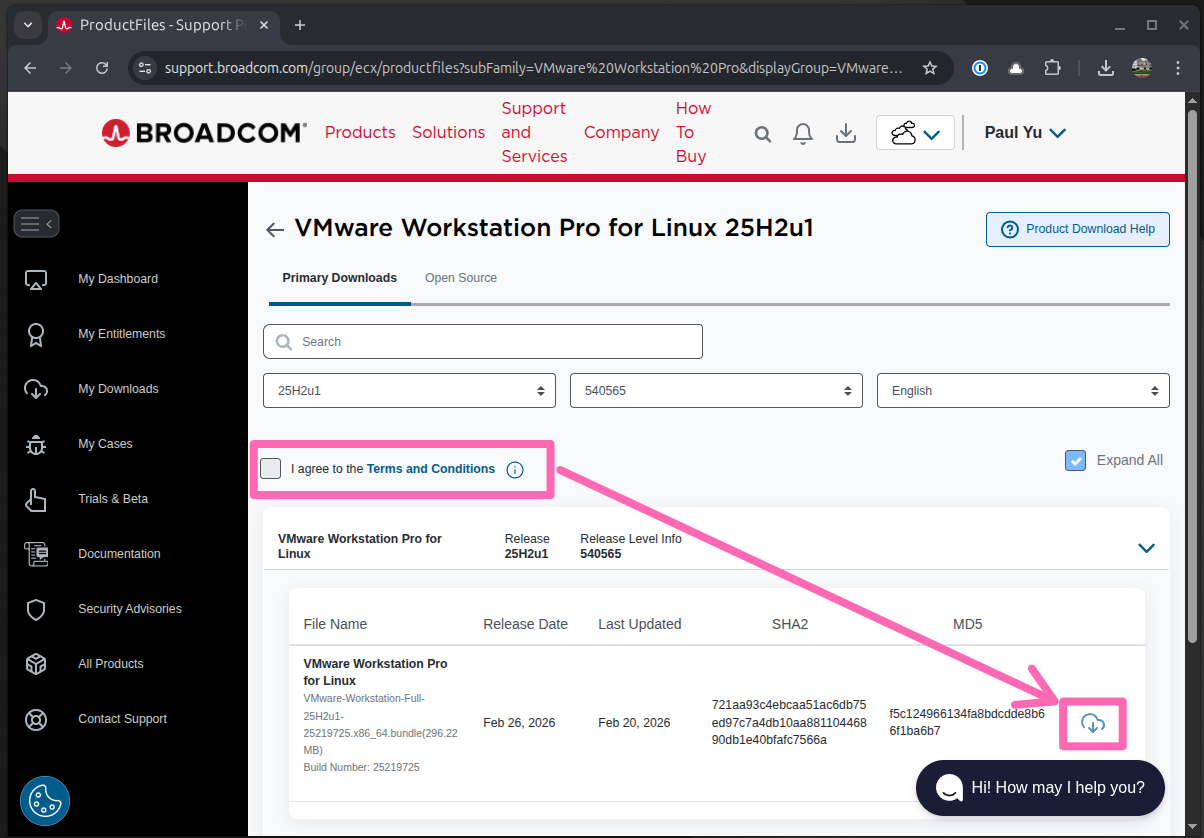
If the checkbox is disabled, click on the Terms and Conditions link first.
Install VMware Workstation
Head over to the terminal and navigate to the directory where the installer was downloaded.
Make the installer executable.
sudo chmod +x VMware-Workstation-Full-25H2u1-25219725.x86_64.bundle
Run the installer.
sudo ./VMware-Workstation-Full-25H2u1-25219725.x86_64.bundle
Open the VMware Workstation Pro application and go through the typical setup process, including accepting the license agreement.
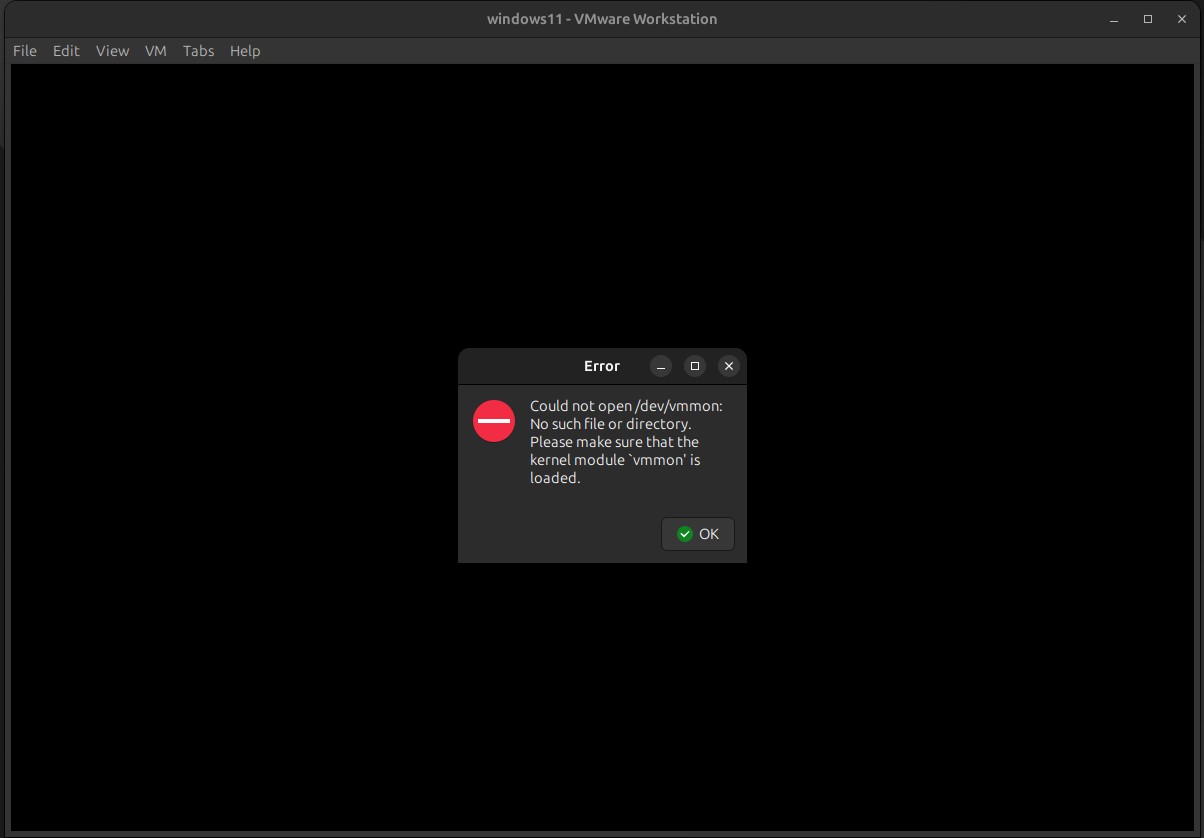
Create a new virtual machine (if you don’t have one already) and attempt to power it on. You should see an error message indicating that the vmmon and vmnet modules are not loaded.
You may also see an error message about several modules needing to be compiled and loaded into the kernel. In that case, click on the Install button to attempt to compile and load the modules. If you have secure boot enabled, you will likely see an error message indicating that the modules could not be loaded because they are not signed. This is expected behavior, and we will address this in the next steps.
Sign the kernel modules
To ensure the vmmon and vmnet kernel modules are loaded, we need to manually sign them. Back in the terminal, run the following commands to ensure the modules exist and to get their paths:
modinfo -n vmmon
modinfo -n vmnet
You should see output similar to the following:
/lib/modules/6.17.0-22-generic/misc/vmmon.ko
/lib/modules/6.17.0-22-generic/misc/vmnet.ko
Next, we need to generate a signing key. Create a directory to store the key and run the following command:
mkdir -p ~/vmware-keys && cd ~/vmware-keys
Generate the key:
openssl req -new -x509 -newkey rsa:2048 -keyout MOK.priv -outform DER -out MOK.der -nodes -days 36500 -subj "/CN=VMware/"
This command will generate a new RSA key pair and create a self-signed certificate. The private key will be saved as MOK.priv and the certificate will be saved as MOK.der.
Next, sign the modules using the generated key:
sudo /usr/src/linux-headers-$(uname -r)/scripts/sign-file sha256 ./MOK.priv ./MOK.der $(modinfo -n vmmon)
sudo /usr/src/linux-headers-$(uname -r)/scripts/sign-file sha256 ./MOK.priv ./MOK.der $(modinfo -n vmnet)
This command uses the sign-file script provided by the Linux kernel to sign the vmmon and vmnet modules with the generated key.
Enroll the MOK key
Next, import the signing key into the MOK (Machine Owner Key) list:
sudo mokutil --import MOK.der
You will be prompted to create a password. This password will be used to enroll the key during the next reboot.
Finally, reboot your system:
sudo reboot
During the reboot process, you will be prompted to enroll the MOK key. Follow the on-screen instructions to complete the enrollment process. After enrolling the key, your system will continue to boot normally.
You will be prompted to enter the password you created earlier during the key import process.
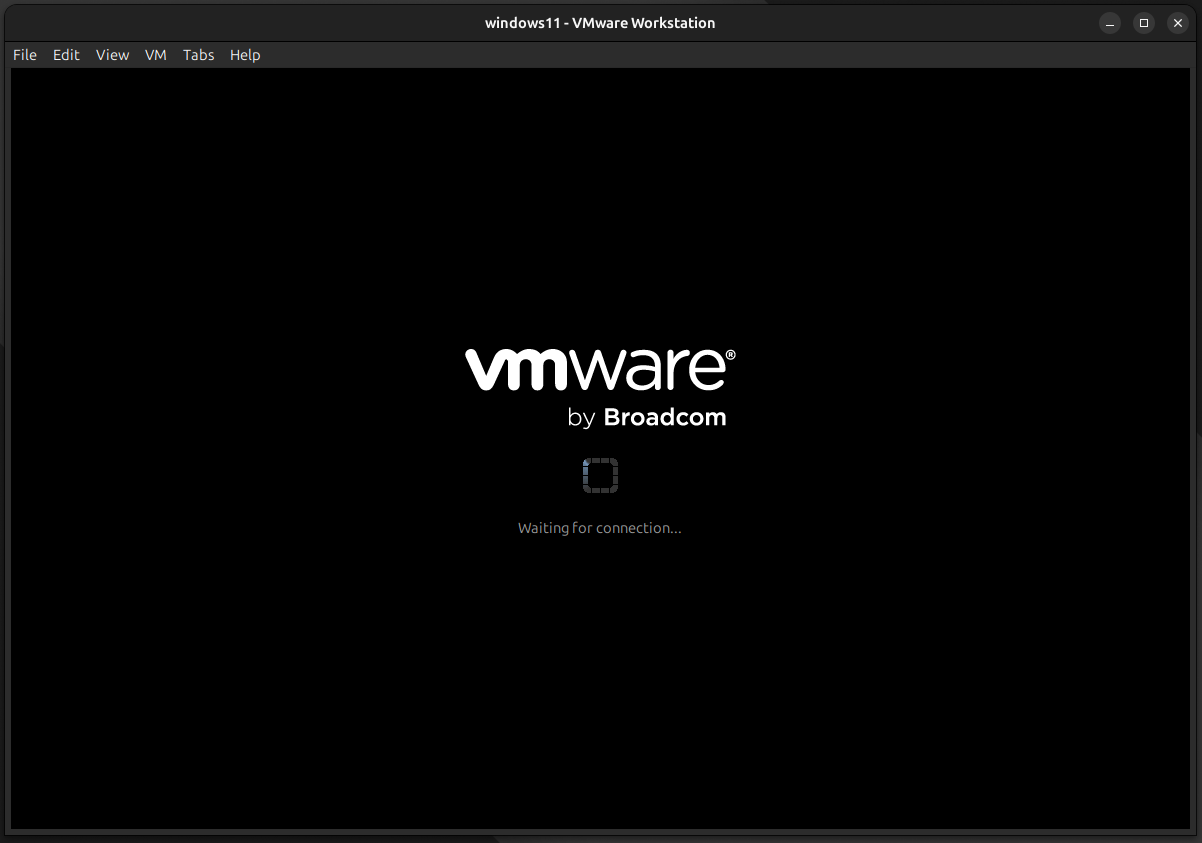
With the key enrolled, the vmmon and vmnet modules should now be loaded successfully when you power on your virtual machine. Try powering on your virtual machine again, and you should see that it starts without any issues.
That’s it! You’ve successfully installed VMware Workstation Pro 25H2 on your Ubuntu Desktop and signed the necessary kernel modules to ensure they load properly with secure boot enabled 🥳
Keep your
~/vmware-keys/directory safe. After a kernel update, the VMware modules will be recompiled and you’ll need to re-sign them using the samesign-filecommands from earlier.
Hope this helps. Cheers! ✌️