
Git going with GitOps on AKS: A Step-by-Step Guide using FluxCD AKS Extension
In reading through @StevenMurawski’s blog post titled, What Really is GitOps? we learned that GitOps is a way to do Continuous Delivery of our applications on Kubernetes.
In this post, I will jump right into how you can “git” going with GitOps by enabling the FluxCD AKS Extension on your Azure Kubernetes Service (AKS) and using a tool called Kustomize to help with Kubernetes configuration management.
We’ll deploy my new favorite demo app, AKS Store Demo to our AKS cluster and then make some changes to the application and see how FluxCD handles them.
Prerequisites
Before you begin, you need to have the following:
Can’t do GitOps without Git, so if you are completely new to Git, you should checkout @StevenMurawski’s blog post titled, Just Enough Git for GitOps to have a basic understanding of it.
Create an AKS cluster
Use the following Azure CLI commands to create a new resource group and AKS cluster.
RG_NAME=rg-gitops
AKS_NAME=aks-gitops
LOC_NAME=westus3

az group create -n $RG_NAME -l $LOC_NAME
az aks create -n $AKS_NAME -g $RG_NAME
When the cluster is created, run the following command to connect to the cluster.
az aks get-credentials -n $AKS_NAME -g $RG_NAME
Install the FluxCD AKS extension
AKS extensions are Microsoft-maintained packages that can be installed using Azure Resource Manager to enable additional functionality on your AKS cluster. In a way, AKS extensions are like AKS add-ons. However, AKS extensions are offered via a different Azure resource provider and therefore offers the flexibility to be installed on a variety of Kubernetes clusters including Azure Arc enabled Kubernetes clusters. Take a look at this article by @JorgeArteiro for more information on the differences between AKS extensions and AKS add-ons.
What is FluxCD?
FluxCD is a GitOps tool developed by Weaveworks that allows you to implement continuous and progressive delivery of your applications on Kubernetes. It is a CNCF graduated project that offers a set of controllers to monitor Git repositories and reconciles the cluster’s actual state with the desired state defined by manifests committed in the repo.
Install Azure CLI extensions
Before we can install the FluxCD AKS extension using Azure CLI, you need to make sure that you have the proper extensions installed.
Run the following command to install the Azure CLI extensions for Kubernetes.
# enable new features for aks
az extension add --name aks-preview

# enable aks extension installations
az extension add --name k8s-extension

# enable aks extension configuration
az extension add --name k8s-configuration
Install FluxCD
With the Azure CLI extensions for Kubernetes installed, you can now install the FluxCD AKS extension using the following command.
az k8s-extension create \
  --cluster-name $AKS_NAME \
  --resource-group $RG_NAME \
  --cluster-type managedClusters \
  --extension-type microsoft.flux \
  --name aks-store-demo
This command will install the FluxCD AKS extension on your AKS cluster. It is equivalent to running the
flux installFlux CLI command.
The first parameters are self-explanatory… we are using Azure Resource Manager to install the extension so you need to pass in the AKS cluster name and resource group.
The parameters you need to be aware of here are --cluster-type and --extension-type. You need to specify managedClusters and microsoft.flux respectively which tells the Azure resource provider that you are installing the FluxCD extension on a managed AKS cluster. Getting these last parameters wrong will result in an error.
With the extension installed, you can run the following Flux CLI command to get the status of the installation.
flux check
Flux installs many new Custom Resource Definitions (CRDs) in the cluster. These CRDs are how you interact with FluxCD. You can run the following command to see all the new CRDs.
kubectl get crds | grep flux
Next, we need to connect FluxCD to a Git repository, but there’s some prep work we need to do first.
Prepare Kubernetes manifests for Kustomize
A successful GitOps implementation hinges on how well you structure your Git repository and how well you manage processes and workflows. GitOps tools are just that; they’re tools, you need to do some work up front like determining file structure, branching strategy, branch protections, and workflows to ensure that you are setting yourself up for success.
“Kustomizing” manifests
The first thing we need to do is decide on how we want to package and manage Kubernetes manifests for different environments. There’s a tool called Helm which @StevenMurawski covered here, and another tool called Kustomize which I personally like to use. Both tools are great for packaging and managing Kubernetes manifests and also supported by FluxCD, but I prefer Kustomize because it is pretty easy to use and built into kubectl.
Kustomize is not a templating engine like Helm, it is more like a patching engine. It allows you to create a base set of Kubernetes manifests and then patch them with environment specific configurations. These environmental configurations are known as “overlays”. So you can have a dev overlay, a prod overlay, a staging overlay, etc. and use them to patch the base manifests with environment specific configurations.
Create a GitHub repository
Using the GitHub CLI, log into GitHub.
gh auth login
Next fork and clone the aks-store-demo-manifests repository that I created for this tutorial.
gh repo fork https://github.com/pauldotyu/aks-store-demo-manifests.git --clone

# change into the repo directory
cd aks-store-demo-manifests
Create a base overlay
All of our manifests currently sit a the root of the repo so we need to create a base directory so that we can create overlays for different environments.
Run the following command to create a base directory.
mkdir base
Copy all the manifests from the root of the repo into the base directory using the following command:
mv *.yaml base

# change into the base directory
cd base
We should now have a base directory with all the manifests in it. Next we need to create our initial kusomtization.yaml file.
Using the Kustomize CLI, run the following command to create the base kustomization.yaml file:
kustomize create --autodetect

# view the kustomization.yaml file
cat kustomization.yaml
Notice in the kustomization.yaml file that all of our manifest files were added as resources that Kustomize will patch.
Create a dev overlay
Next, we need to create an overlay for our dev environment.
We need to navigate back to the root of the repo directory and create a dev overlay directory.
# navigate back to the root of the repo
cd ../
mkdir -p overlays/dev
cd overlays/dev
We want our dev deployment to deploy to a new namespace so we’ll create a new manifest to create one. Run the following command to create a new manifest file.
kubectl create namespace store-dev --dry-run=client -o yaml > namespace.yaml
Generate the kustomization.yaml file for our dev overlay using the following command.
kustomize create --resources namespace.yaml,./../../base --namespace store-dev

# view the kustomization.yaml file
cat kustomization.yaml
In this kustomization.yaml file, we see that it will include our new namespace.yaml file and all manifests in the base directory. We also have a namespace: store-dev entry in the kustomization and this is what instructs Kustomize to patch and add the store-dev namespace to the base manifests.
Here is what the directory structure of the repo should look like:
.
├── README.md
├── base
│   ├── kustomization.yaml
│   ├── makeline-service.yaml
│   ├── mongodb.yaml
│   ├── order-service.yaml
│   ├── product-service.yaml
│   ├── rabbitmq.yaml
│   ├── store-admin.yaml
│   ├── store-front.yaml
│   ├── virtual-customer.yaml
│   └── virtual-worker.yaml
└── overlays
    └── dev
        ├── kustomization.yaml
        └── namespace.yaml
This is good enough for now.
Kustomize in action
Let’s test the dev overlay by running the following command from the dev directory:
kustomize build
Notice how all the manifests are patched with the store-dev namespace and output to the console. This is how Kustomize works. It patches the base manifests with environment specific configurations and outputs the patched manifests to the console.
To deploy these patched manifests, you would run a command like this.
kustomize build | kubectl apply -f -
Kustomize is also built into kubectl so you can run the following command to apply the manifests to your cluster.
kubectl apply -k .
Hopefully you didn’t run the commands above. If you did, no sweat 😅 you can delete this deployment with either of these commands.
# using kustomize
kustomize build | kubectl delete -f -

# or using kubectl
kubectl delete -k .
Do the Git part of GitOps
Remember that Git stuff we talked about earlier? Well, let’s put Git to use and commit and push our changes the GitHub repo.
Run the following commands to commit and push your changes to GitHub.
# make sure we are back at the root of the repo
cd ../../

# add all changes
git add .

# commit changes
git commit -m 'refactor: add kustomize base and dev overlay'

# push changes
git push
Deploying Applications with FluxCD
With the repo prepped, we can now connect FluxCD to our GitHub repo. FluxCD will monitor the repo for changes and reconcile the cluster with the desired state defined in the repo.
Run the following command to get the GitHub HTTP URL for your repo.
GH_REPO_URL=$(gh repo view --json url | jq .url -r)
Using Azure CLI again, let’s configure the FluxCD AKS extension to connect to our GitHub repo:
az k8s-configuration flux create \
  --cluster-name $AKS_NAME \
  --resource-group $RG_NAME \
  --cluster-type managedClusters \
  --name aks-store-demo \
  --url $GH_REPO_URL \
  --branch main \
  --kustomization name=dev path=./overlays/dev \
  --namespace flux-system
This command is equivalent to running the
flux create sourceandflux create kustomizationFlux CLI commands.
Here, we are telling the FluxCD AKS extension to connect to our GitHub repo and monitor the main branch for changes.
The Azure resource name is set to aks-store-demo and we pass in a kustomization name of dev. These two values will be used to create the Kustomization resources in the cluster.
We also tell the Flux resource where look for our manifests by passing it path=./overlays/dev.
Lastly, we tell Flux to create new Flux GitRepository and Kustomization resources in the flux-system namespace. You can change this to whatever namespace you want. I used flux-system for simplicity.
If you run the following Flux CLI commands you should see some resources created.
flux get source git
flux get kustomization
If all went well, you should see your pods coming online. Let’s watch for them:
kubectl get pods -n store-dev -w
Once you see all the pods running, you can exit the watch by pressing CTRL+C.
Let’s test the application by grabbing the public IP address of the store service:
kubectl get svc/store-front -n store-dev
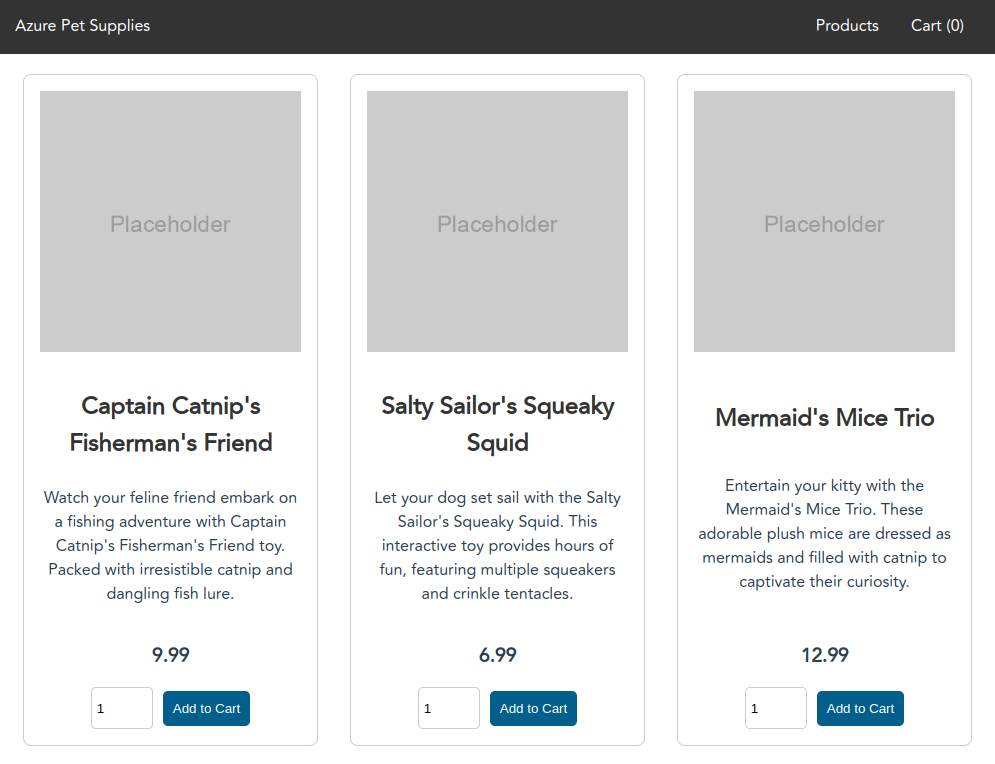
Open a browser and navigate to the IP address. You should see the AKS Store Demo application running 🚀
Great, we have successfully deployed our application using GitOps! Now what? Well, let’s make some changes to the application and see how FluxCD handles them.
Making and managing changes
With the FluxCD AKS extension installed and connected to our GitHub repo, we can now make changes by simply editing the kubernetes manifests and committing/pushing the changes back to the remote repo. At this point, it’s all about Git workflows and processes.
Let’s make a small change to the dev overlay kustomization.yaml file. Let’s say we want to change the name of the namespace from store-dev to just dev.
Open the overlays/dev/kustomization.yaml file and change the namespace value from store-dev to dev. Optionally, you can run the following sed command to make the change.
# make sure you are in the root of the repo
sed -i -e 's/store-dev/dev/g' overlays/dev/kustomization.yaml
Compare the changes.
git diff overlays/dev/kustomization.yaml
Add the change, commit, and push to GitHub.
git add overlays/dev/kustomization.yaml
git commit -m 'refactor: change namespace to dev'
git push
I’m pushing directly to the main branch for simplicity, but you should be using a branch and pull request workflow.
Using the Flux CLI, you can force FluxCD to reconcile the cluster with the desired state defined in the repo.
flux reconcile kustomization aks-store-demo-dev --with-source
After a minute or two you should see the pods coming online in the new dev namespace. This is FluxCD reconciling the cluster with the desired state defined in the repo.
You can check on the pods using the following command.
kubectl get pods -n dev
Monitoring and Troubleshooting
Here’s some tips when it comes to monitoring and troubleshooting Flux resources is to use the Flux CLI. You can use some of these basic commands to get information about Flux and its resources:
# check the status of the flux installation
flux check

# get info about the GitRepository resource
flux get source git aks-store-demo-dev -n flux-system

# get info about the Kustomization resource
flux get kustomization aks-store-demo-dev -n flux-system

# view event logs from the flux controllers
flux events

# view logs from the flux controllers
flux log

# view stats of the flux controllers
flux stats
If you are a little weary about an agent in your Kubernetes cluster doing all this work without your knowledge, don’t worry, Flux also allows you to configure notifications for events. You can configure notifications for Slack, Discord, Microsoft Teams, and more. Check out the Flux docs for more information.
Conclusion
In this post, we learned how to enable the FluxCD AKS extension on Azure Kubernetes Service (AKS) and how to deploy applications using a GitOps approach. We did all this using the Azure CLI and the Flux CLI, but you can also use the Azure Portal to install the AKS extension in a “ClickOps” manner 😁
GitOps is a powerful way to do Continuous Delivery of your applications on Kubernetes. But remember, a successful GitOps implementation requires a bit of planning and prep work. You need to think about how you want to manage processes and workflows using a tool like Git. GitOps is not a “silver bullet”, it is a way of doing things. It is a way of doing Continuous Delivery of your applications on Kubernetes.
Now, you might be thinking… “Why FluxCD and not ArgoCD?” Well, I will be doing a follow up post on ArgoCD, so stay tuned for that.
If you have any feedback or suggestions, please feel free to reach out to me on Twitter or LinkedIn.
Peace ✌️